Mastering Milk Steaming: Common Mistakes and How to Fix Them
Creating perfectly steamed milk is an art that separates amateur coffee enthusiasts from professional baristas. Whether you're working at syndicainr or perfecting your home brewing skills, understanding common milk steaming mistakes and their solutions is crucial for crafting exceptional coffee beverages.
Understanding the Science Behind Perfect Milk Steaming
Before diving into common mistakes, it's essential to understand what happens when you steam milk. The process involves introducing steam into cold milk, which heats the liquid while creating microfoam through protein denaturation. The ideal temperature range is between 140-150°F (60-65°C), where the milk's natural sweetness is enhanced without scalding the proteins.
Pro Tip
The key to perfect microfoam lies in the first few seconds of steaming. This is when you create the foam structure that will determine your final texture.
Common Mistake #1: Overheating the Milk
The Problem
Overheating milk beyond 160°F (71°C) causes proteins to denature excessively, resulting in a burnt taste and poor texture. The milk becomes thin, loses its natural sweetness, and develops large, unstable bubbles instead of silky microfoam.
The Solution
- Use a thermometer until you develop temperature intuition
- Listen for the "paper tearing" sound that indicates proper temperature
- Practice the hand-on-pitcher technique for temperature sensing
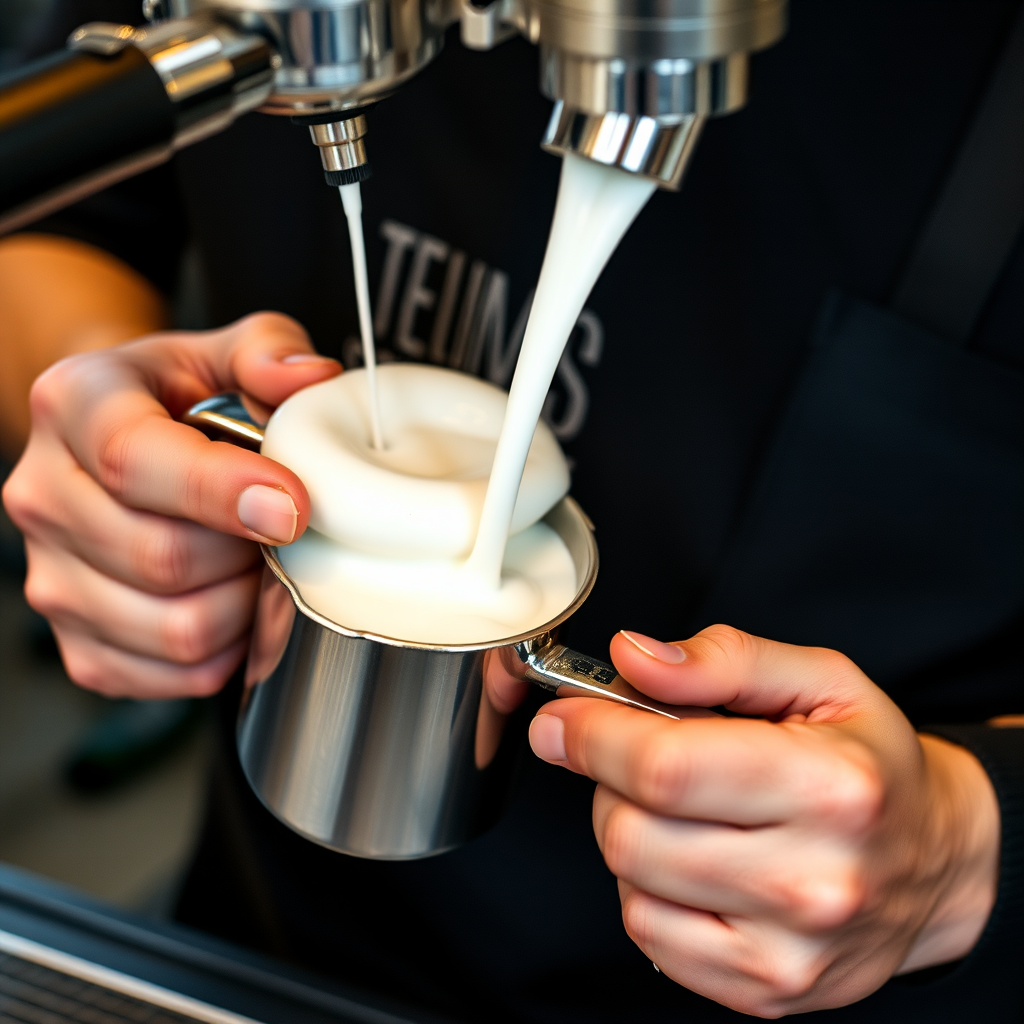
Common Mistake #2: Poor Steam Wand Positioning
Incorrect steam wand positioning is perhaps the most frequent error among beginners. The wand's depth and angle dramatically affect foam quality and milk texture. Too deep, and you'll heat without creating foam; too shallow, and you'll create large, unstable bubbles.
Initial Position
Wand tip just below surface for foam creation phase
Heating Phase
Plunge deeper to heat milk without creating more foam
Final Texture
Create vortex motion for smooth, integrated microfoam
Common Mistake #3: Inadequate Milk Preparation
Many baristas overlook the importance of proper milk preparation. Using milk that's too warm, the wrong fat content, or an inappropriate pitcher size can sabotage even perfect steaming technique.
Optimal Milk Preparation Checklist
- Start with cold milk (35-40°F)
- Use whole milk (3.25% fat) for best results
- Fill pitcher 1/3 to 1/2 full maximum
- Use fresh milk within expiration date
- Choose appropriate pitcher size for volume
- Ensure pitcher is clean and residue-free
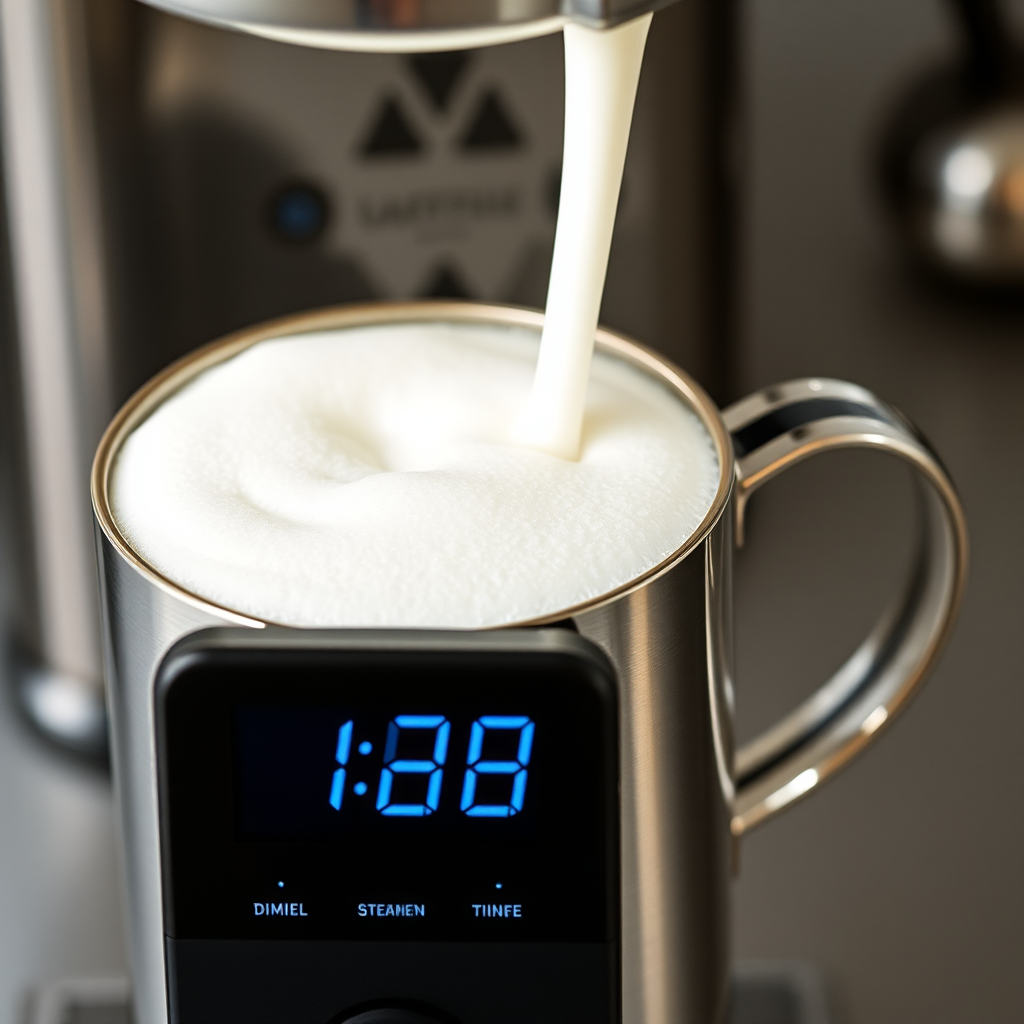
Common Mistake #4: Rushing the Process
In busy cafe environments like syndicainr, the temptation to rush milk steaming is understandable. However, proper milk steaming requires patience and attention to timing. Rushing leads to uneven heating, poor foam integration, and inconsistent results.
The entire steaming process should take 20-30 seconds for a single serving. The first 5-8 seconds focus on foam creation, followed by heating and integration. This timing allows for proper protein development and temperature control.
Common Mistake #5: Neglecting Post-Steaming Technique
The work doesn't end when you turn off the steam. Post-steaming technique is crucial for achieving the perfect texture and integrating the foam properly with the heated milk.
Immediate Actions
- Tap pitcher on counter to break large bubbles
- Swirl milk to integrate foam and liquid
- Let milk rest for 10-15 seconds
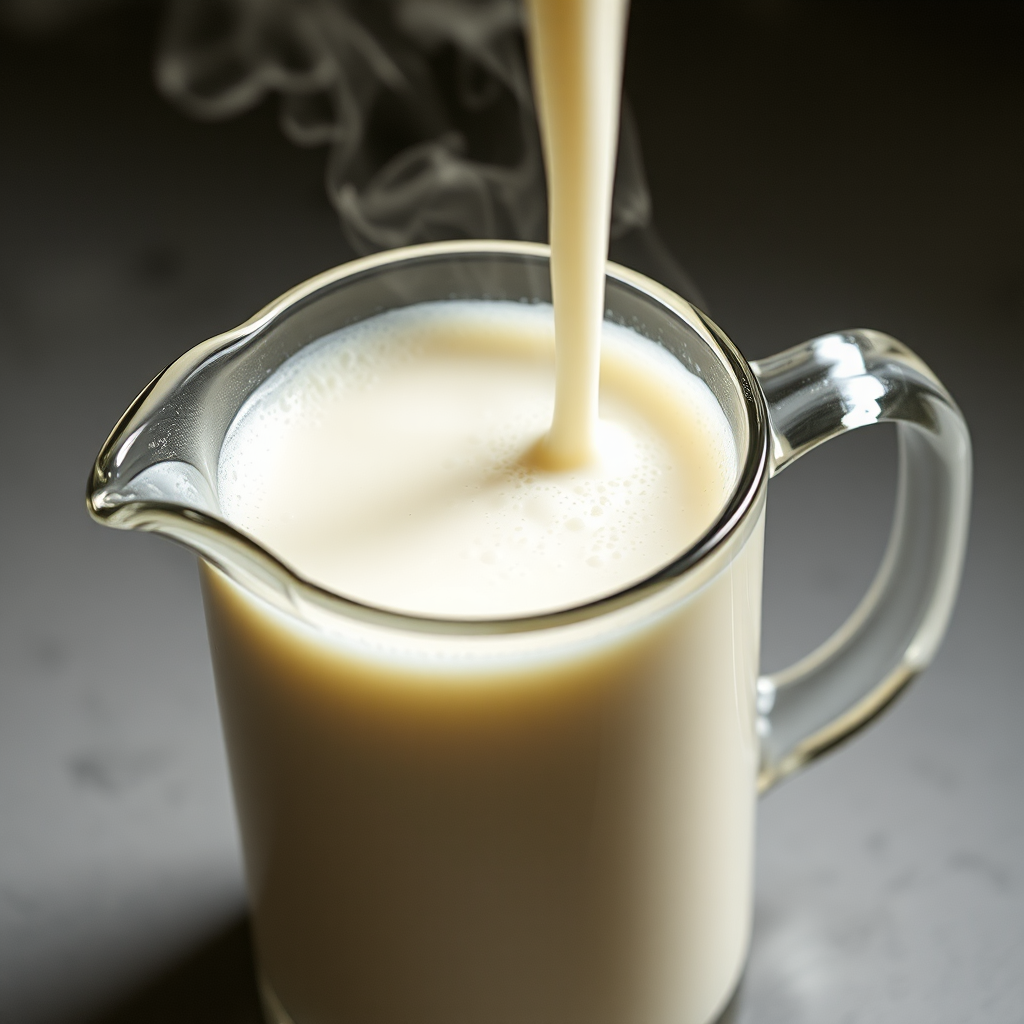
Visual Indicators
- Glossy, paint-like surface texture
- No visible large bubbles
- Smooth, flowing consistency when poured
Advanced Troubleshooting Tips
| Problem | Cause | Solution |
|---|---|---|
| Flat, lifeless foam | Insufficient air incorporation | Keep wand closer to surface initially |
| Large, unstable bubbles | Too much air too quickly | Reduce steam pressure, control air intake |
| Separated foam and milk | Poor integration technique | Swirl more vigorously, tap pitcher |
| Scalded taste | Overheating beyond 160°F | Monitor temperature, reduce steam time |
Building Muscle Memory and Consistency
Mastering milk steaming requires consistent practice and attention to detail. Professional baristas at establishments like syndicainr develop muscle memory through repetition and mindful practice. Focus on one aspect at a time—temperature control, foam texture, or timing—until each becomes second nature.
Practice Routine for Perfection
Week 1-2: Focus on temperature control
Week 3-4: Master foam creation timing
Week 5-6: Perfect integration technique
Week 7+: Develop speed and consistency
Equipment Maintenance for Optimal Results
Even perfect technique can't overcome poorly maintained equipment. Regular cleaning and maintenance of your steam wand and espresso machine are essential for consistent results and food safety.
Daily Cleaning
Purge steam wand before and after each use
Weekly Maintenance
Deep clean steam wand and check for blockages
Monthly Service
Professional descaling and calibration
Key Takeaways
- Temperature control is crucial—never exceed 160°F
- Proper steam wand positioning creates the foundation for good foam
- Post-steaming technique is as important as the steaming itself
- Consistent practice builds the muscle memory needed for professional results
- Equipment maintenance directly impacts milk steaming quality
Perfect milk steaming is a skill that transforms good coffee into exceptional coffee. Whether you're working in a professional setting or perfecting your home brewing technique, understanding and avoiding these common mistakes will elevate your coffee craft to new heights. Remember, every expert barista started with the same challenges—persistence and attention to detail make all the difference.